
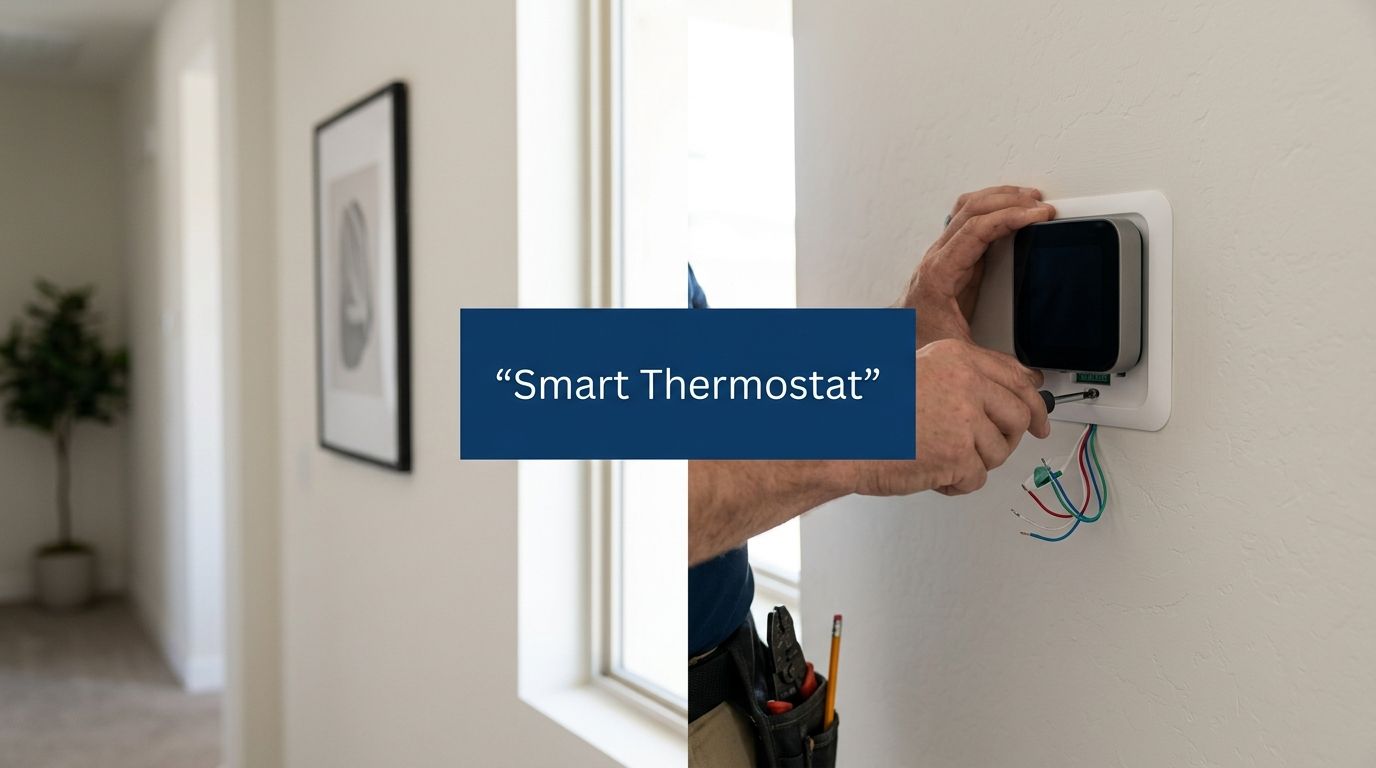
A lot of Mesa homeowners start looking at smart thermostat installation when the house won't stay comfortable, the AC seems to run at the wrong times, or summer power bills keep climbing. In the East Valley, a smart thermostat can be a useful upgrade, but the install isn't always the simple wall swap that general DIY articles make it sound like.
Early in the decision process, it also helps to look at the bigger cooling picture. If the thermostat issue is tied to an aging system, it's worth reviewing AC replacement and installation in Mesa and comparing that with this guide on AC repair vs replacement in Arizona.
Checking Compatibility and Preparation
The first step in smart thermostat installation Mesa AZ homeowners should take is checking whether the existing system can support the thermostat they want to buy. That means looking at the current thermostat wiring, confirming the equipment type, and making sure the control setup matches the new thermostat's requirements.
Start with the wall plate and equipment type
Pull the thermostat cover and identify the terminal labels. Most homeowners will see some combination of R, W, Y, G, C, and sometimes O/B. Those labels matter because a thermostat that's compatible with a gas furnace and split AC may need different setup choices than one controlling a heat pump or packaged unit.
Before removing anything:
- Shut power off at the breaker: Don't rely on the thermostat being off.
- Take clear photos of the wiring: A front photo and an angled photo help.
- Check the model information: The air handler or furnace control board can confirm what the wall thermostat is controlling.
- Look for a C-wire: The common wire is often the deciding factor.
A big miss in many online guides is the local wiring reality in older homes. Existing coverage of smart thermostat installation in Mesa often treats the job like a generic DIY swap, but older Mesa homes built before 2000 frequently don't have the needed common wire. In fact, 40 to 60 percent of those homes may lack the C-wire needed for continuous smart thermostat power, according to this East Mesa smart thermostat installation discussion.
Know what can change the project scope
A thermostat replacement stays simple only if the wiring already supports it. Once a home needs an adapter, new low-voltage wiring, or inspection of the indoor unit, the project stops being a quick faceplate swap and starts looking more like HVAC control work.
That's especially true in East Valley homes with attic air handlers. Access can be tight, dusty, and dangerously hot in summer. Homeowners who are dealing with comfort issues should also read about solving uneven cooling with a thermostat replacement because thermostat problems sometimes overlap with airflow or zoning issues.
Basic prep checklist
Before any install begins, gather:
- A screwdriver set
- A phone for wiring photos
- A flashlight
- A non-contact voltage tester
- The thermostat manual and app
If any of the following show up, it's smart to pause and get help:
- Unlabeled wires
- Multiple thermostat cables
- Heat pump wiring confusion
- No visible C terminal connection
- Signs of previous splices inside the wall
Overview of Wiring and Mounting
Clean wiring and correct placement do more for thermostat performance than most homeowners expect. A smart thermostat can have strong software features, but if the conductors aren't landed correctly or the thermostat sits in a bad location, the readings and system behavior won't be reliable.
Terminal matching matters
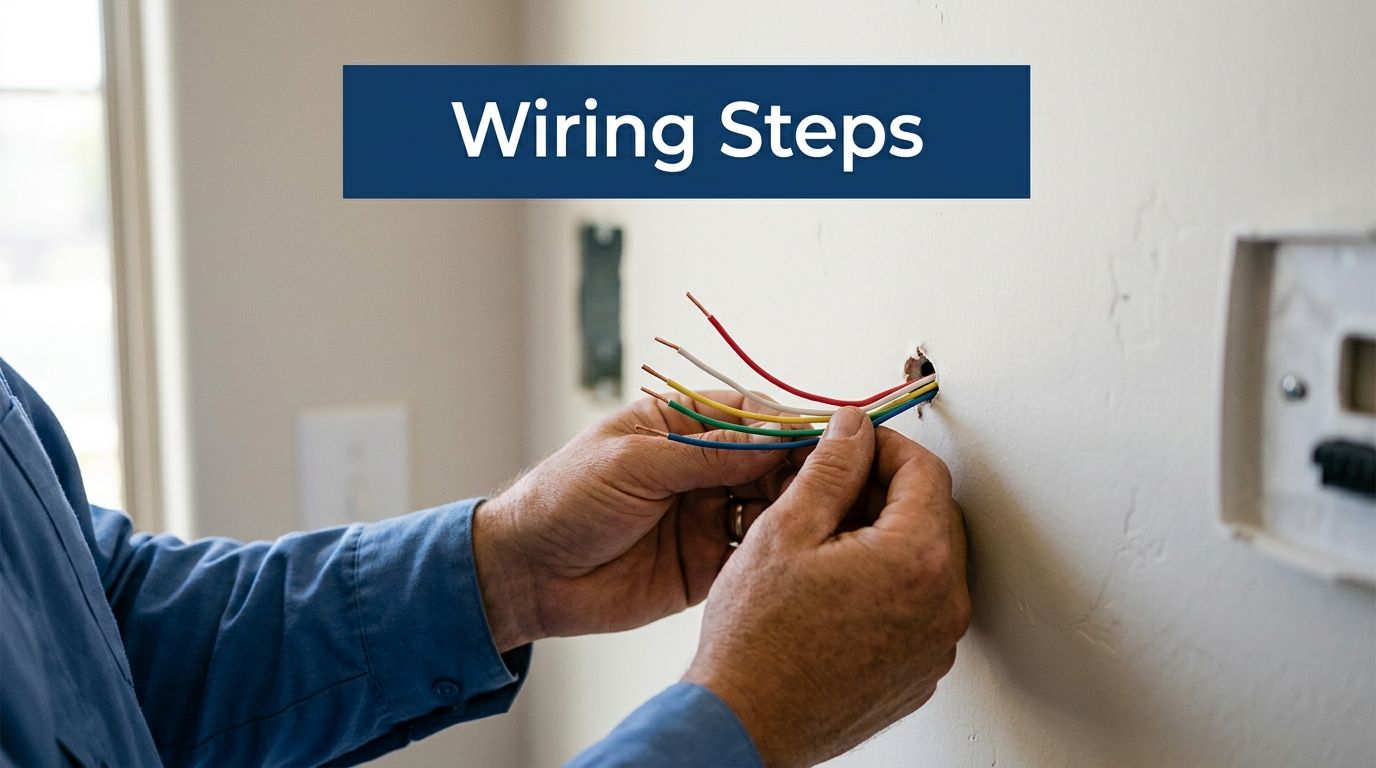
Most thermostat swaps come down to matching the old terminals to the new ones. That sounds straightforward, but wire color alone isn't enough. The terminal label is what counts.
Typical functions include:
- R: Power
- W: Heat call
- Y: Cooling call
- G: Indoor fan
- C: Common wire for continuous power
- O/B: Heat pump reversing valve
The safest process is simple. Turn power off, remove the old thermostat face, confirm the labels at the base, and move one wire at a time to the new terminal map. If the new thermostat uses a different naming convention, the equipment guide has to be checked before connecting anything.
Strip length and wire handling
Connection quality matters in Arizona homes because heat and vibration expose weak terminations fast. Expert installation guidance for Arizona desert homes calls for 3/8-inch exposed wire length at terminal connections, a method that reduces connection failure rates by over 25% when done correctly, according to this installation reference video.
That same guidance supports using a non-contact voltage tester before disconnecting anything. It's a small step, but it helps prevent mistakes when homeowners assume low-voltage controls are safe just because the screen is blank.
A good connection also means tucking the extra conductor back carefully. Wires shouldn't be crammed into the opening or bent sharply at the terminal.
Mounting location affects how the system runs
Placement is just as important as wiring. In Mesa homes, the thermostat should not be mounted near windows, HVAC vents, or exterior walls because direct sun, drafts, and wall heat can distort the temperature reading and push the system to overcool, as noted in this local thermostat placement guide.
A solid mounting routine looks like this:
- Level the base plate: It keeps the thermostat seated properly and looking clean.
- Seal obvious wall gaps behind the plate: Air from the wall cavity can affect sensor readings.
- Choose an interior wall when possible: That gives the thermostat a truer room temperature.
- Keep clear of supply vents: Cold air hitting the thermostat can shut cooling off too early.
Tools that actually help
The most useful tools on this job are practical, not fancy:
| Tool | Why it helps |
|---|---|
| Screwdriver set | Removes the old base and secures the new one |
| Non-contact voltage tester | Confirms power is off before handling wires |
| Needle-nose pliers | Straightens or guides small conductors |
| Drill and anchors | Helps when the new plate doesn't match the old holes |
| Phone camera | Preserves the original wiring layout |
Weighing DIY Versus Professional Installation
Some thermostat swaps are reasonable DIY jobs. Others become expensive do-overs after one wiring mistake, one missing common wire, or one heat pump setting that doesn't match the equipment. In Mesa, the right choice usually depends on the wiring, not the homeowner's confidence with a screwdriver.
A recent survey found that 49% of U.S. homeowners prefer professional smart thermostat installation, and in Mesa, professional installs range from $500 to $950 depending on C-wire needs, based on the Resideo professional installation survey fact sheet.
DIY vs Professional Comparison
| Decision factor | DIY | Professional |
|---|---|---|
| Basic thermostat swap | Can work if wiring is straightforward and clearly labeled | Usually quick and low-risk |
| Missing C-wire | Often where DIY projects stall | Installer can confirm options and complete the wiring work |
| Permit awareness | Easy to overlook if the job expands beyond a simple replacement | Better fit when the scope may cross into permit-required work |
| Heat pump setup | O/B configuration mistakes are common | Equipment setup is part of the job |
| App and system calibration | Depends on patience and model familiarity | Usually handled during install |
| Warranty and callback concerns | Homeowner owns the troubleshooting | Cleaner handoff when setup issues appear later |
When DIY makes sense
DIY is usually reasonable when the existing thermostat already has a confirmed C-wire, the equipment type is clear, and the homeowner is replacing a standard wall thermostat with a compatible model in the same location.
It makes less sense when the home has older wiring, rooftop or packaged equipment with unclear labeling, or a history of uneven cooling and control issues.
For homeowners comparing contractors before booking, this guide on choosing a trustworthy HVAC company is useful because thermostat work often overlaps with broader system diagnostics.
Estimating Costs Timelines and Local Rebates
A Mesa homeowner buys a smart thermostat expecting a quick Saturday install, then finds only four conductors at the wall and no usable C-wire. That is where budgets shift. In older Mesa homes, the thermostat price is often the easy part. The primary variable is whether the existing low-voltage wiring supports the model you want without extra work.
What the install can cost locally
Mesa pricing usually falls into a few practical buckets:
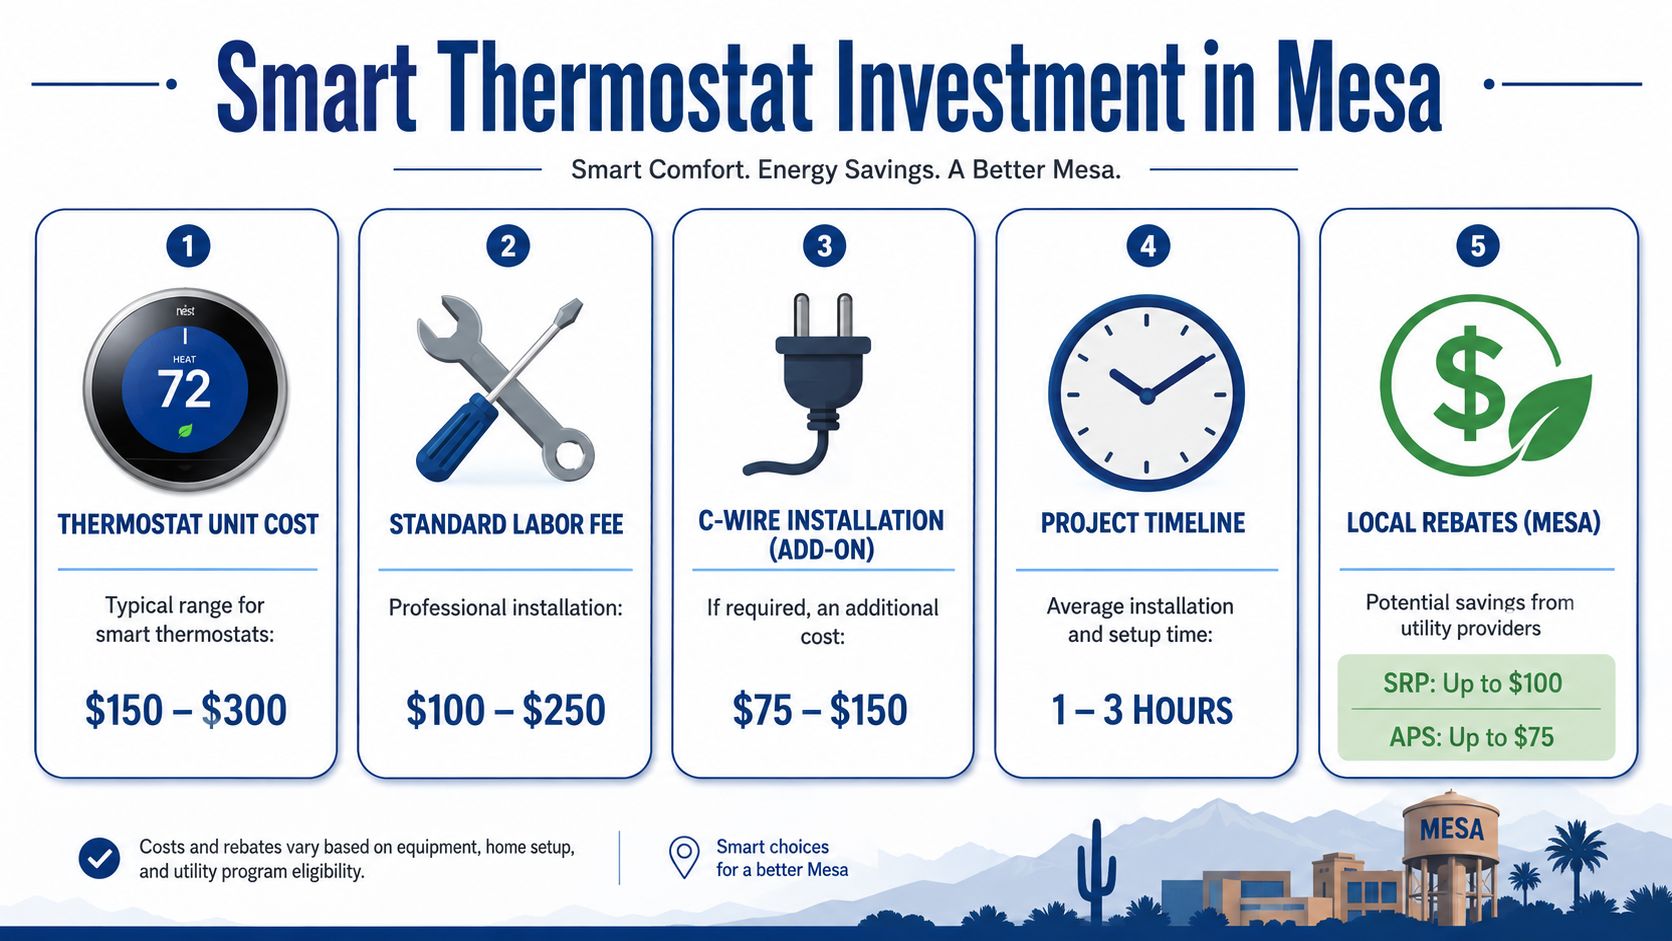
- Thermostat unit cost: Retail smart thermostat pricing commonly lands in the low hundreds, depending on brand, sensor package, and whether the model supports heat pumps, variable fan control, or room averaging.
- Straightforward professional install: $250 to $500 for installation that includes WiFi and app configuration, according to local HVAC pricing data from AZ Comfort Experts.
- Higher-complexity professional install: $500 to $950 when the job goes beyond a direct swap, according to the earlier cited Resideo survey fact sheet.
- C-wire add-on: $150 to $300 when new common wire installation is required, as described in this Mesa installation overview.
Those numbers vary because they cover different scopes. A clean replacement on a newer system is one job. Tracing wiring through an attic, adding a C-wire, or correcting old thermostat connections is another.
Mesa homeowners should also leave room for permit-related cost if the work expands past a simple thermostat replacement. Basic swaps usually stay simple. New control wiring or broader electrical or HVAC modifications can push the project into a different category, and that catches people off guard.
How long it usually takes
A basic replacement is often finished in one visit. If the installer has to confirm wiring at the air handler, work in a hot attic, or solve missing common wire issues, the appointment can run longer or require a return trip.
That is the main timeline trade-off between DIY and professional service. DIY can cost less on paper if the wiring is obvious and the thermostat powers up cleanly. It gets expensive fast when a homeowner buys the wrong model, loses cooling during setup, or ends up paying for a diagnostic visit after partial installation.
For households trying to cut cooling bills from more than one angle, this checklist of home energy saving tips for Phoenix is a useful companion because thermostat scheduling works best when window heat gain and other efficiency problems are also addressed.
Savings and rebates
Mesa's long cooling season makes smart thermostat savings more noticeable than in milder climates. Time-of-use plans can also improve the payoff if the schedule is set correctly and the thermostat is matched to the equipment.
Rebates can shorten the payback period, but homeowners should check the utility rules before buying. Model eligibility changes. So do program terms. Anyone interested in finding Salt River Project rebates should confirm the current list first, especially if the thermostat is being purchased around a sale or contractor promotion.
A practical rule is simple. Budget for the thermostat, installation, and at least the possibility of C-wire work. In Mesa, that is the difference between a quick upgrade and a project that costs more time and money than expected.
What to Expect from Comfort Experts Service
When a thermostat job looks simple from the wall but may involve equipment checks, low-voltage wiring, or permit questions, the service process matters. That's especially true in Mesa homes with older controls, attic air handlers, or package units that don't fit the assumptions built into most retail setup guides.
What a service call should include
A useful thermostat appointment should start with compatibility, not installation speed. The technician should confirm the system type, inspect the thermostat wiring, and check whether the project is a direct replacement or a wiring modification.
The homeowner should also get a clear explanation of:
- Whether a C-wire is present and usable
- Whether the thermostat matches the HVAC equipment
- Whether the install stays in simple replacement territory
- Whether permit-related work could apply if wiring changes are needed
In Mesa, basic smart thermostat replacements typically don't require special permits, but installations that involve electrical modifications, new control wiring, or HVAC system changes do require permits through the City of Mesa Development Services Department, as explained in the earlier cited professional installation source.
Why local HVAC context matters
The East Valley has a mix of older single-story homes, newer subdivisions, split systems, heat pumps, and rooftop or packaged equipment. A thermostat installer has to understand the control side of all of those. The work isn't just fastening a screen to drywall.
One practical option is working with a locally owned HVAC company that already handles cooling, heating, thermostats, and related diagnostics in Mesa and the East Valley. Comfort Experts serves in that lane, which matters when thermostat replacement turns out to be part of a broader system control issue rather than a stand-alone gadget install.
Clean handoff matters
A good visit should end with the thermostat mounted correctly, the settings matched to the equipment, the app connected, and the homeowner shown how to use the main controls. The work area near the thermostat and indoor unit should also be left clean, especially in homes where attic dust and insulation debris can become part of the job.
Setting Up App Walkthrough Troubleshooting and Maintenance
A lot of Mesa homeowners get the thermostat on the wall, see the screen light up, and assume the job is finished. Setup is where the thermostat starts acting like a control system instead of an expensive display.
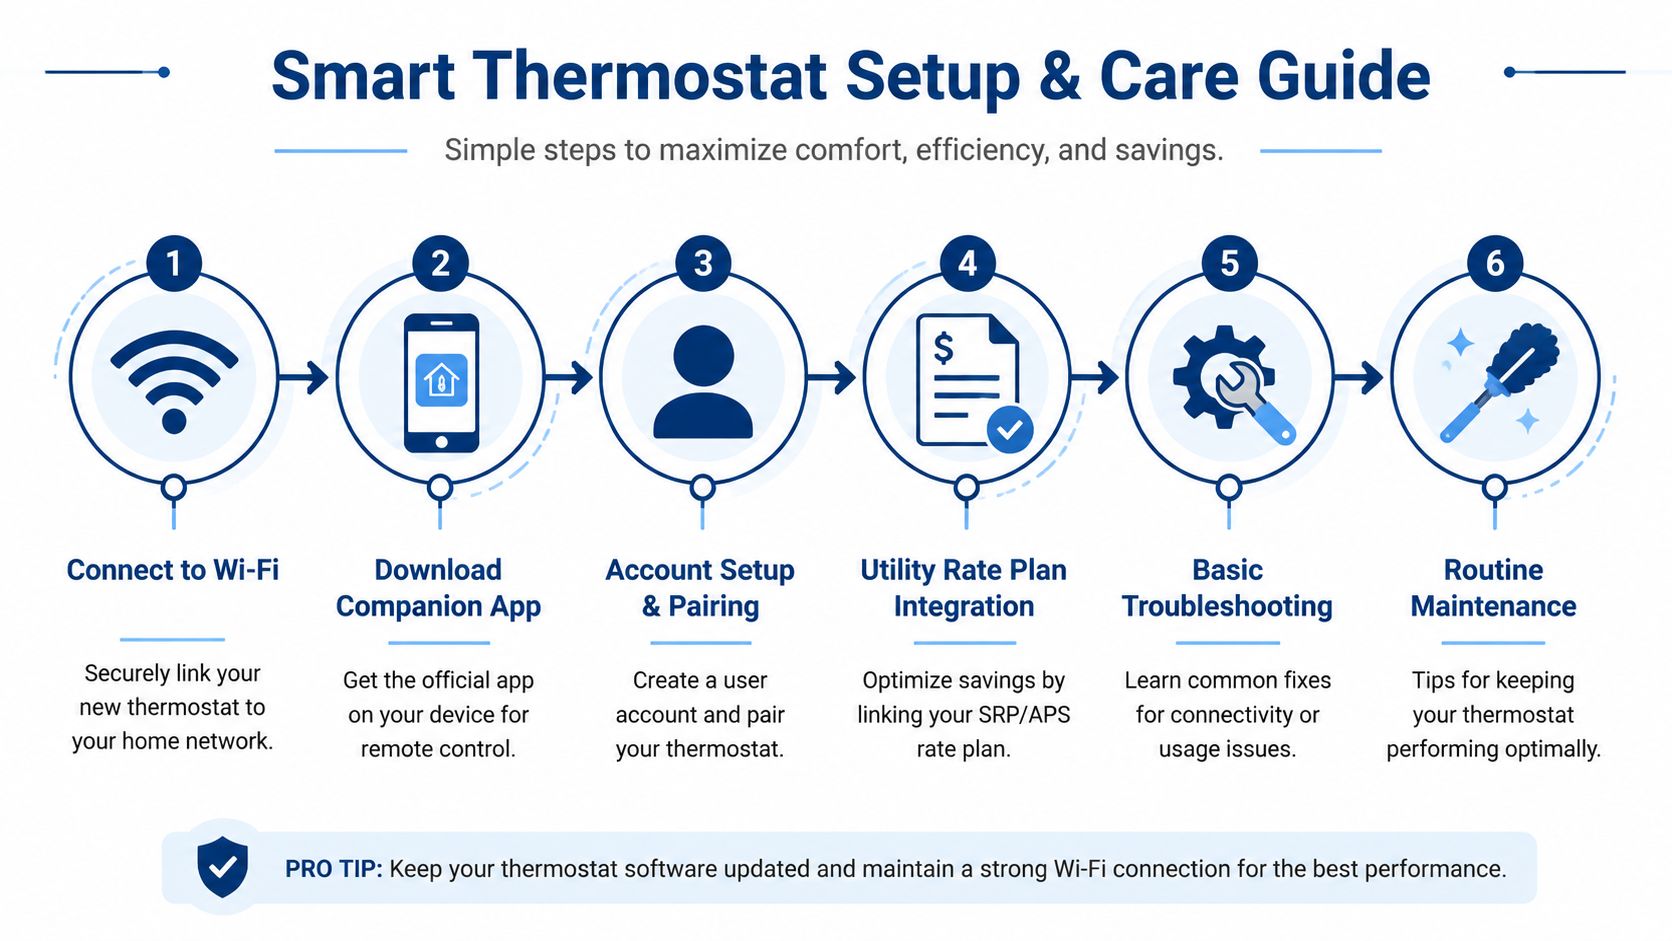
Start with the app and equipment settings before building schedules. On many installs, the app asks a few questions that sound minor but affect how the system runs. Heat pump or conventional split system. Reversing valve orientation. Fan control. Aux heat behavior. If those answers are wrong, the thermostat can connect to Wi-Fi and still control the equipment poorly.
A clean setup usually looks like this:
- Join the thermostat to the home Wi-Fi network
- Install the manufacturer app and pair the device
- Confirm the equipment type and operating settings
- Set home, away, sleep, or work-hour schedules
- Turn on alerts for filter changes, temperature swings, or lost connection
For homeowners who want a broader view of connected home controls, DLG Electrical's smart home expertise gives useful context on how automation fits into day-to-day use.
In Mesa, troubleshooting often comes back to two local realities. Older homes sometimes have patched-together low-voltage wiring from previous thermostat swaps, and rooftop units can add communication issues that do not show up in generic installation guides. I see this most often when a thermostat powers on but drops Wi-Fi, short-cycles, or calls for the wrong mode at the wrong time of day.
Check these points first:
- Equipment settings are mismatched: Heat pumps are especially sensitive to incorrect O/B configuration.
- Wi-Fi is weak at the thermostat location: The unit may run the system but fail to update in the app or miss remote commands.
- Sensor location is skewing the reading: Sun on the wall, supply vents, and hot hallway pockets can throw off temperature control.
- Filter or airflow problems are masking the source: Homeowners sometimes blame the thermostat when the actual issue is with system performance.
- Battery or power interruptions keep resetting preferences: This shows up more often on marginal C-wire setups or older control boards.
Maintenance is simple, but it matters. Keep the screen clean, replace filters on schedule, review app alerts, and check your programming at the start of cooling season and again when nights begin to cool off. A schedule that worked in April may fight your comfort in August.
If you want help fine-tuning daily schedules after install, this guide on how to program a thermostat is a practical next step.
Comfort Experts handles thermostat service in Mesa when setup problems point to wiring faults, control issues, or equipment behavior beyond a basic app pairing fix.
If a smart thermostat upgrade is on the table, the smartest first move is confirming compatibility before buying hardware. For help with thermostat installation, wiring questions, or broader cooling issues in Mesa and the East Valley, contact Comfort Experts, call 480-207-1239, or schedule service.