
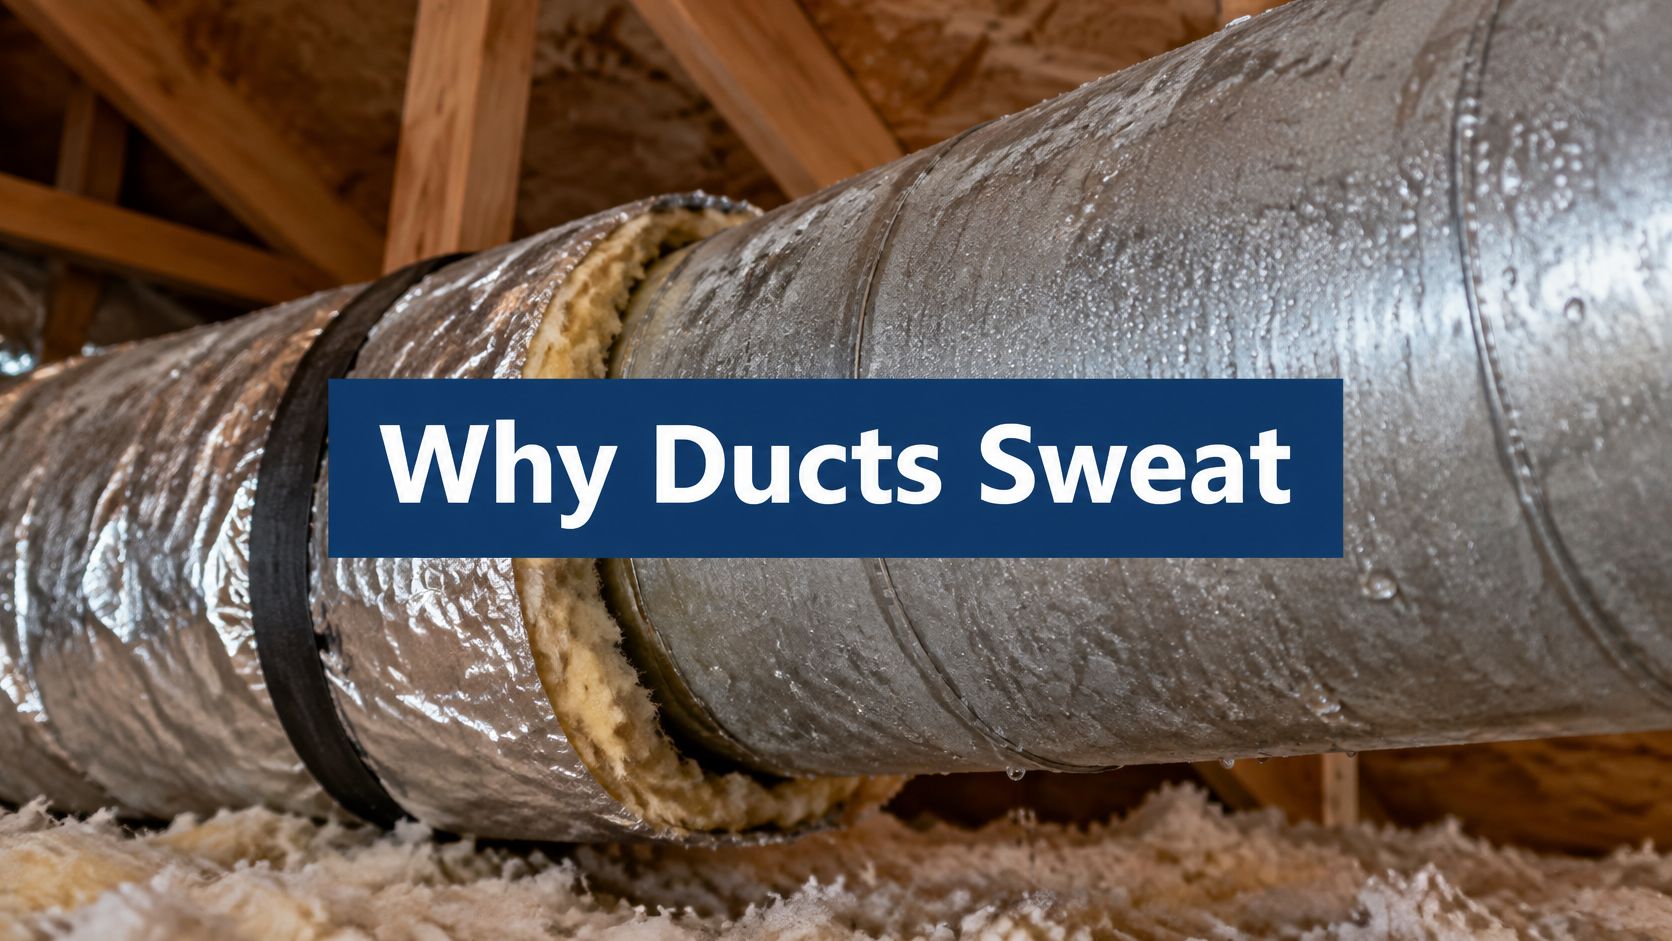
Condensation forms when a duct's outer surface is at or below the dew point of the surrounding air, so the water comes from the air, not necessarily from a leak. For a Mesa homeowner finding droplets at a ceiling register or wet insulation during monsoon weather, the cause comes down to air moisture, surface temperature, and insulation and vapor barrier performance.
Dew Point Explains Why Ducts Sweat
Dew point is the temperature at which moisture in the air starts becoming liquid water. A glass of iced water beads up in a warm room for the same reason a cold supply duct can sweat in an attic: the surface cools the air touching it enough for moisture to condense.
ASHRAE's guidance on duct systems explains why cold ductwork needs protection from surrounding moisture. Conditioned air travels inside the duct, while warmer attic, garage, or crawlspace air contacts its exterior. Without an effective insulating assembly, the exposed surface can become cold enough to collect water.
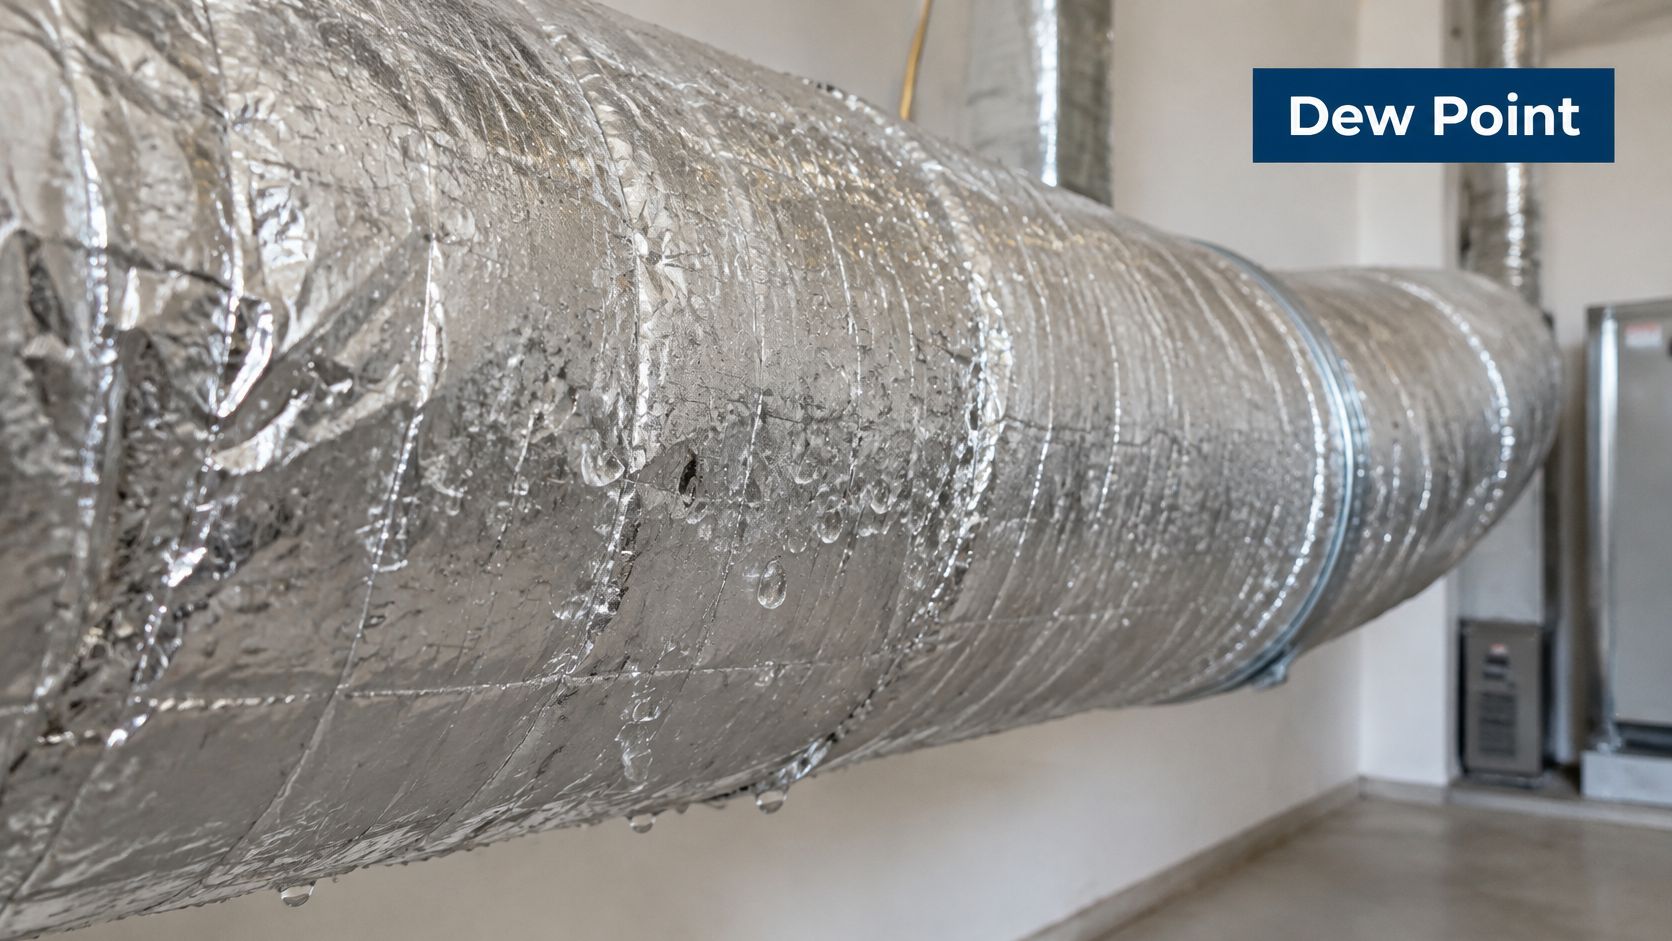
The important distinction is which air touches the duct. A thermostat's humidity reading describes conditions near the thermostat, not necessarily those around an attic boot or behind a ceiling penetration. A house can feel dry while a concealed duct connection sits in moisture-bearing air.
A wet duct therefore doesn't automatically prove a failed cooling coil, a blocked drain, or a broken duct. Those possibilities require separate checks.
Before choosing a repair, the homeowner or technician needs to establish:
- Location: Whether the affected duct runs through conditioned space, an attic, a garage, or another unconditioned area.
- Coverage: Whether insulation and its outer jacket remain continuous around connections.
- Local conditions: Whether the air immediately around the wet surface becomes humid when the sweating appears.
Why Monsoon Humidity Turns a Dry Duct Wet
A duct that stays dry during a dry June afternoon can sweat when monsoon moisture arrives, even without a new equipment failure. The National Weather Service's Arizona monsoon guidance identifies rising surface dew points as part of the monsoon transition. That change matters wherever outdoor air reaches cold duct components.
The following scenarios illustrate the mechanism, not measured Phoenix weather observations. Actual attic conditions require a local measurement; a regional weather record can provide context but can't establish conditions at a particular register boot.
Monsoon dew-point scenarios for a supply duct
| Scenario | Air condition | Dew point | What the duct surface does |
|---|---|---|---|
| Dry June afternoon in an attic | Local air, verify against NOAA Phoenix records and an on-site reading | Unverified until measured locally | Most surfaces remain dry when the exposed jacket stays above local dew point |
| Monsoon evening, indoor air at the duct | 85°F and 65% RH, in ASHRAE's worked example | 72°F in that example | An exposed surface at or below that dew point can sweat |
| Humid monsoon day, attic or garage air | 30°C and 70% RH, using ASHRAE's psychrometric example | Approximately 23.9°C | Cold metal or an exposed jacket below that temperature can sweat |
| Same duct after a gap opens at a register boot | Humid air reaching the boot | Matches the air immediately around the boot | The exposed boot can sweat while the protected run stays dry |
The dry-weather row establishes the baseline. The humid rows show what changes: the moisture threshold rises, and a previously dry surface may cross it. The final row shows why the first droplets may appear at a small exposed connection rather than along the whole duct.
For household moisture management, Comfort Experts' tips for controlling household humidity provide a useful starting point. A separate homeowner resource, Purified Air Duct Cleaning's seasonal moisture guidance for Phoenix homeowners, offers additional context, but neither replaces measurements at the affected duct.
The best inspection window is during the conditions that produce sweating, not on a convenient dry afternoon.
How Insulation Gaps and Air Leaks Let Moisture In
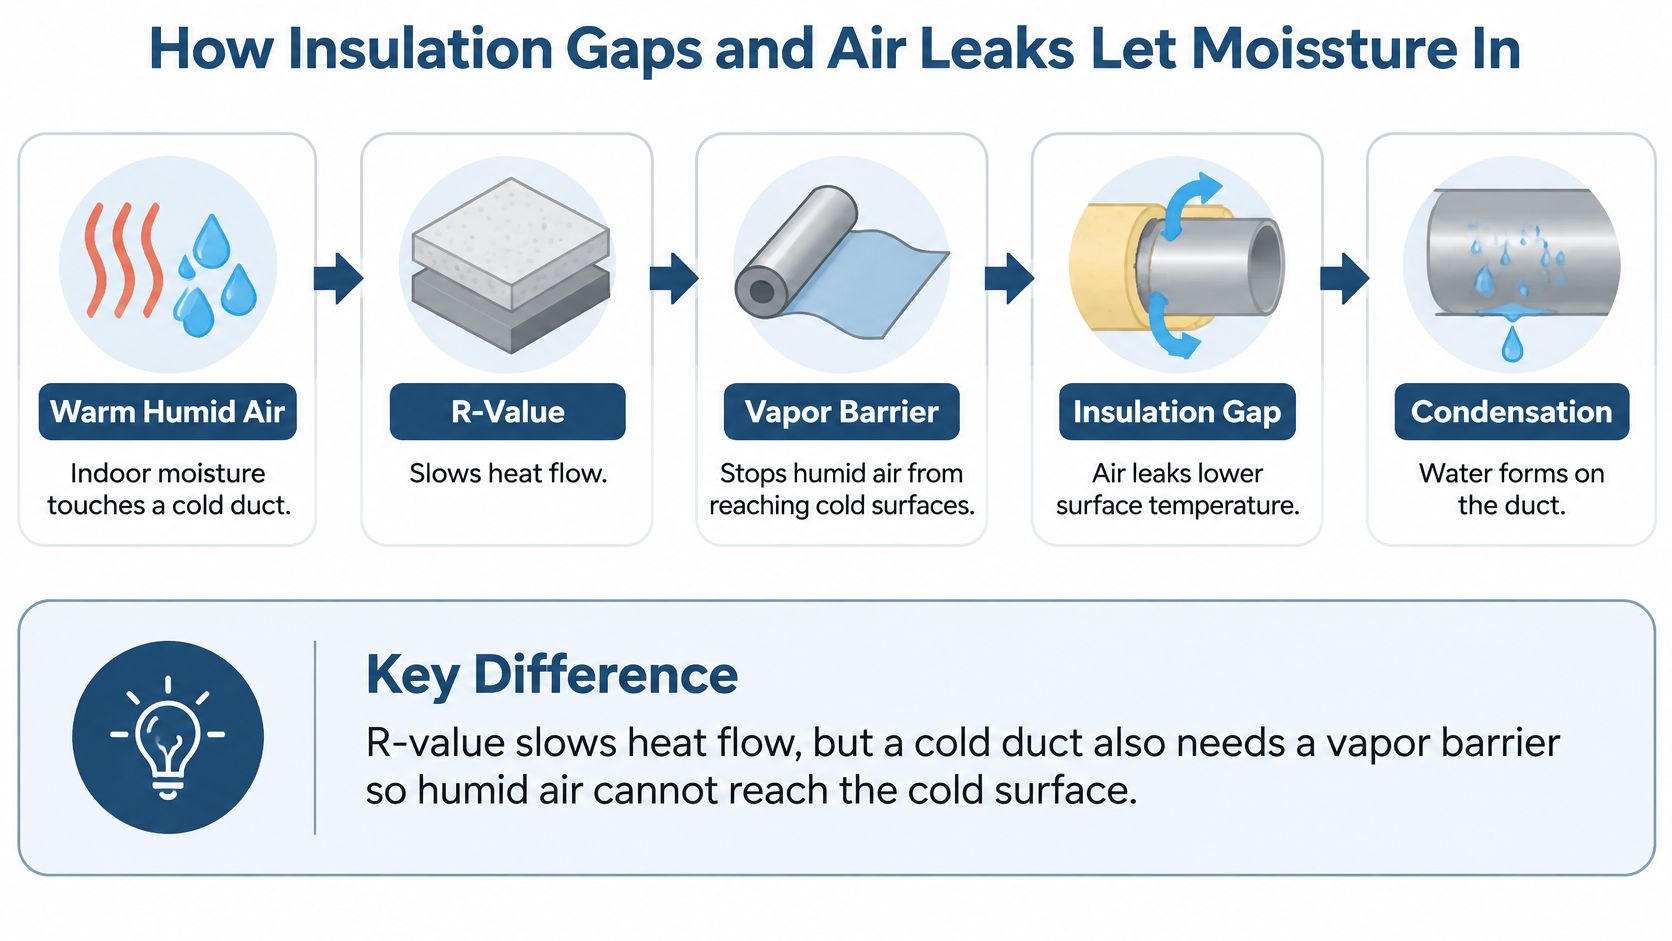
A duct can sweat at a small break in its insulation even when the rest of the run stays dry. Insulation slows heat transfer; the outer jacket also needs to limit water vapor reaching the insulation. For cold ducts, ASHRAE's insulation guidance recommends exterior insulation with vapor permeance of 0.1 perm or less and addresses condensation on both the exposed surface and within the insulation. Thickness alone does not ensure those protections.
Defects that deserve attention
- Torn or missing jacketing: Gaps interrupt the vapor-control layer around the insulation.
- Compressed sections: Straps, tight bends, or stored objects can reduce insulation at a specific point.
- Wet or matted insulation: Moisture may be inside the assembly, not just on its visible surface.
- Open seams and penetrations: Check where connections, wires, and supports interrupt the jacket.
Moisture inside insulation can reduce its thermal performance and hide condensation against the metal. Corrosion, saturated material, or ceiling damage may follow. Adding a layer over wet insulation can conceal the source rather than fix it.
Leakage changes where moisture appears
A return-side leak can pull humid surrounding air into the system. A supply-side leak can release cold air and chill nearby materials, so water may show up away from the original leak. Sealing the duct and repairing its insulation jacket address different problems. Duct sealing can address leakage, but sealing only the visible wet spot does not establish whether another connection is drawing in humid air.
A visual check can reveal crushed insulation, staining, open joints, or a musty odor. It cannot establish leakage rates or operating airflow. Include household moisture sources, evaporative-cooling conditions, cooling cycles, and suspected airflow problems in the inspection.
Where Condensation Shows Up and What to Check First
The wet spot provides a useful inspection priority, not a diagnosis. Register boots and collars are a practical starting point because their room-facing symptoms are often visible without entering an attic.
Condensation locations and inspection priority
| Location | Why it sweats | Inspect priority |
|---|---|---|
| Register boots and collars | Cold metal sits where insulation was cut short or pulled away | First: Visual check at affected registers |
| Ceiling registers and stains | Moisture may involve cold supply air, drain overflow, or a roof leak | First: Compare timing and rule out look-alikes |
| Seams and joints | Open tape or unsealed collars can expose cold metal to humid air | Next: Check during a safe, accessible duct inspection |
| Penetrations | Lines, wires, and hangers can leave gaps through the jacket | Next: Inspect jacket continuity around each opening |
| Hangers and takeoffs | Strapped or branching points can create localized cold surfaces | Then: Technician checks compressed or interrupted insulation |
| Plenum and air handler | Large cold surfaces and possible return leakage require closer evaluation | Professional inspection: No equipment opening by the homeowner |
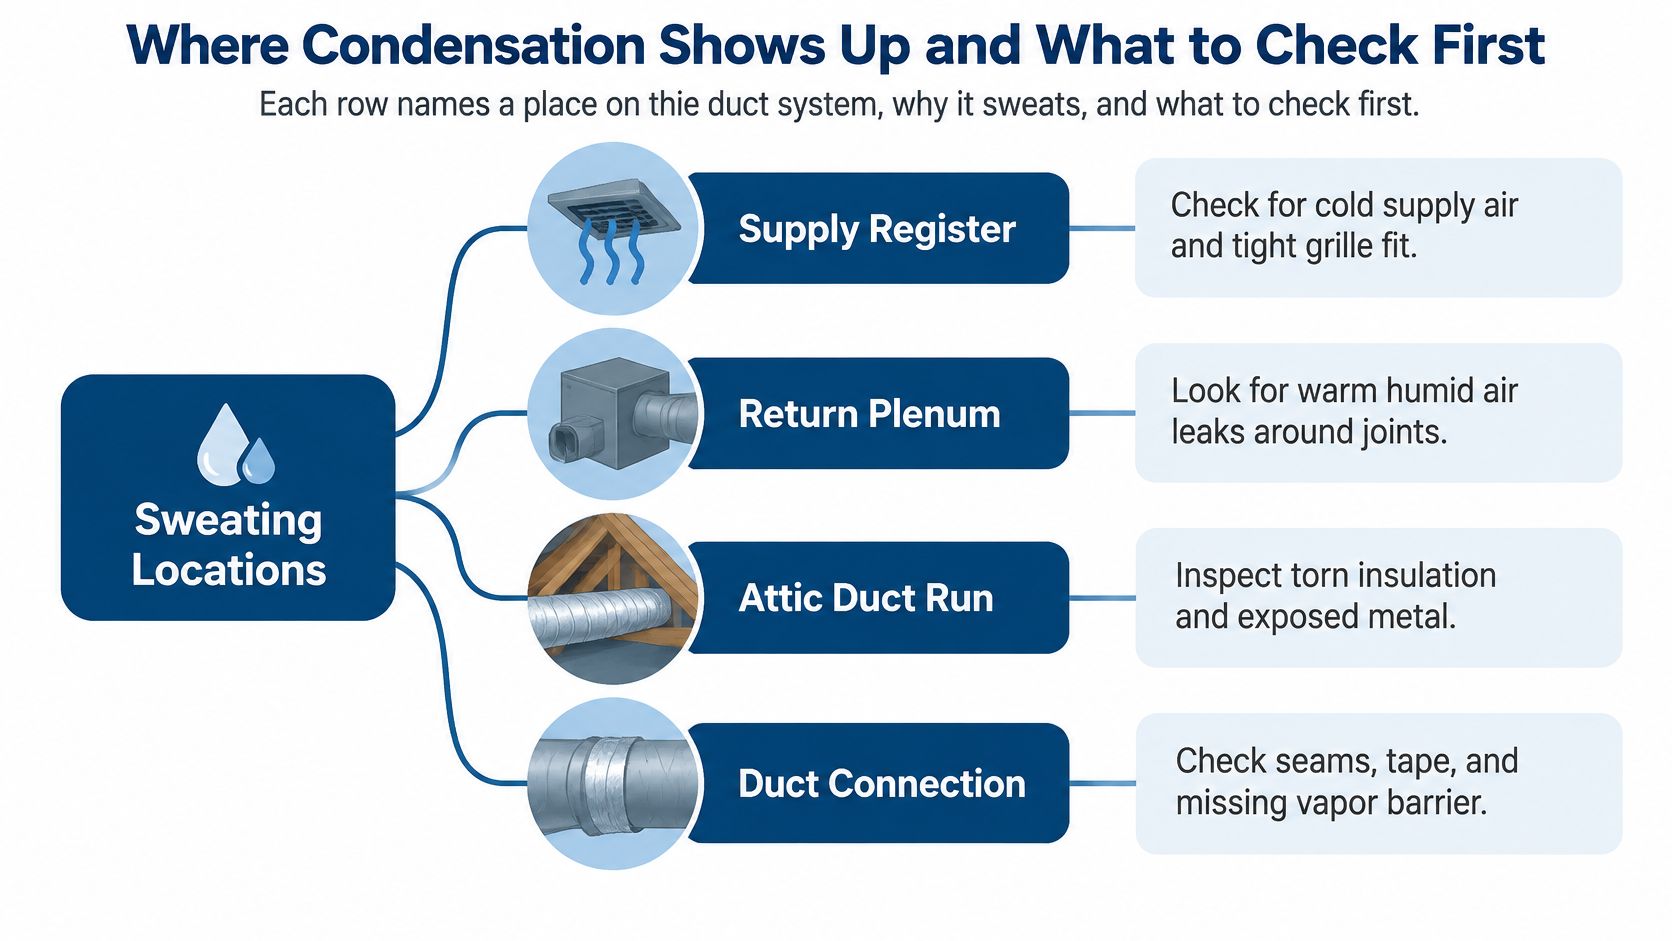
Seams, hangers, and takeoffs can fall below local dew point while the main insulated surface stays dry. A dry main run doesn't clear every connection. The inspection needs to include transitions, not just the broad face of the duct.
A stain near a ceiling grille needs a timing check. Moisture that follows cooling operation suggests a different investigation from a stain that grows after rainfall. Water near the air handler also warrants a drainage check; guidance to troubleshoot a clogged AC drain can help distinguish that symptom from surface sweating.
The table's sequence is for observation and documentation. It isn't permission to enter an unsafe attic or dismantle a plenum.
Ruling Out Look-Alikes and What Stains Can Prove
A blocked condensate drain, storm-related roof leakage, and another moisture source above the ceiling can all resemble duct sweating. Before insulation work begins, the water's origin needs to be established.
Compare location, timing, and appearance
Record where water first appears, whether it follows AC operation or rainfall, and whether it looks clear, cloudy, or discolored. Note odors without disturbing suspect material. Appearance alone doesn't establish the source, and a stain's position doesn't prove that the nearest register caused it.
The EPA's moisture-control guidance recommends drying wet materials within 24 to 48 hours to limit mold growth and keeping indoor relative humidity below 60%, ideally 30–50%. Those indoor targets don't eliminate a localized insulation or vapor-barrier defect.
A ceiling stain proves that water reached the ceiling. It doesn't establish whether mold is present, how far moisture spread, or whether concealed materials remain sound.
- Document changes: Dated photos, weather notes, humidity readings, and cooling-operation notes help the assessment.
- Avoid concealment: Painting a stain or covering wet insulation doesn't resolve the moisture source.
- Separate responsibilities: Medical concerns belong with a health professional; insurance and warranty determinations belong with the relevant policy or warranty administrator.
Comfort Experts doesn't provide medical advice or determine coverage. Information about signs of mold in air ducts can help homeowners describe a concern, but staining or odor alone shouldn't be treated as a confirmed mold identification.
Inspection Order From Register to Attic
Start where you can observe safely. A wet register, a damp duct jacket, and a ceiling stain call for different checks, but none proves the cause by itself.
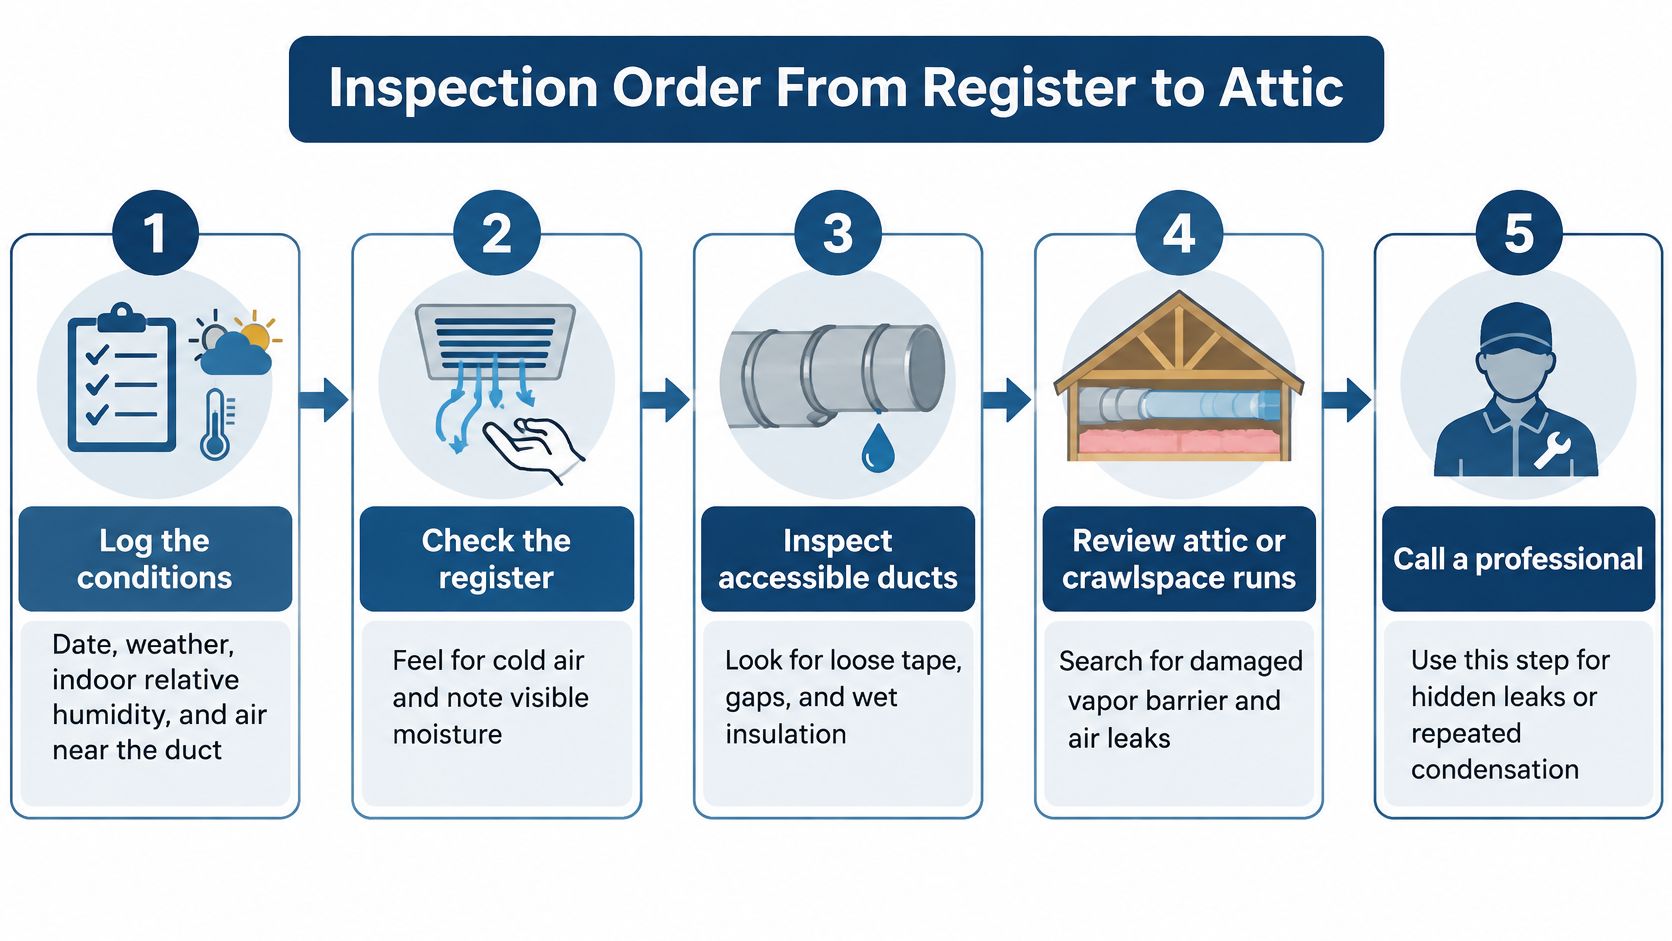
Start with accessible observations
- Log the conditions. Note the date, weather, thermostat setting, indoor relative humidity, and when moisture appears. Measure air near an attic duct only if you can do so safely.
- Check the register area. From floor level, use a flashlight to note droplets, staining, and exactly where the surface is wet. A wet register area points to an inspection near the boot and surrounding insulation first.
- Compare the timing. Record whether moisture follows extended cooling, humid weather, rainfall, or a recent change in operation. Timing helps distinguish a recurring cooling-related symptom from one associated with rain.
- Limit the attic check. From a safe access position, look for damaged jackets, missing insulation, or visible wet areas. Don't enter a very hot attic, walk on insulation, or step on ducts.
- Review drainage information. Check the equipment owner documents for permitted exterior observations. Don't open equipment, manipulate an overflow switch, or improvise a drain-clearing procedure.
- Classify what you see. Record whether moisture affects one connection, an insulated duct run, or a ceiling area with no visible duct sweating.
- Stop before equipment work. Electrical components, refrigerant connections, combustion equipment, hidden plenums, and rooftop systems require professional access.
Prepare a useful service description
When arranging service, report the affected room, visible location, timing, recent changes, and any photographs taken safely. A concise description helps the technician investigate without treating a stain as a diagnosis. Mercateer's guide to HVAC reception
Blot accessible water on a hard surface with towels only when there is no electrical hazard. Don't tape wet insulation shut or cover it.
Observation narrows the inspection; operating measurements help identify the cause. Comfort Experts assesses symptoms, system condition, airflow, controls, equipment history, and actual operating measurements rather than guessing from a stain.
Seal, Insulate, Repair or Replace the Duct
The next step should match the finding, not the size of the visible wet spot. A localized defect may need a localized repair, while damaged ductwork or recurring moisture needs a broader evaluation.
Finding, likely cause and next step
| Finding | Usually points to | Next step |
|---|---|---|
| Sweating only at a register boot or cut insulation | Local insulation gap | Technician seals and reinsulates the area with compatible materials |
| Wet, compressed, or torn jacket along a run | Possible vapor-barrier failure | Establish the moisture source, dry the area, and assess affected insulation for replacement |
| Leaks at joints with pressure imbalance suspected | Air leakage | Seal confirmed leaks and measure return-side conditions |
| Damaged, crushed, or disconnected duct run | Duct damage | Evaluate repair versus replacement of the affected run |
| Condensation returns after sealing and insulation | Possible airflow, sizing, or humidity issue | Request airflow testing and, when indicated, a load evaluation |
| Water near the air handler or drain line | Possible drainage problem, not necessarily duct sweating | Inspect drainage and overflow protection before choosing duct work |
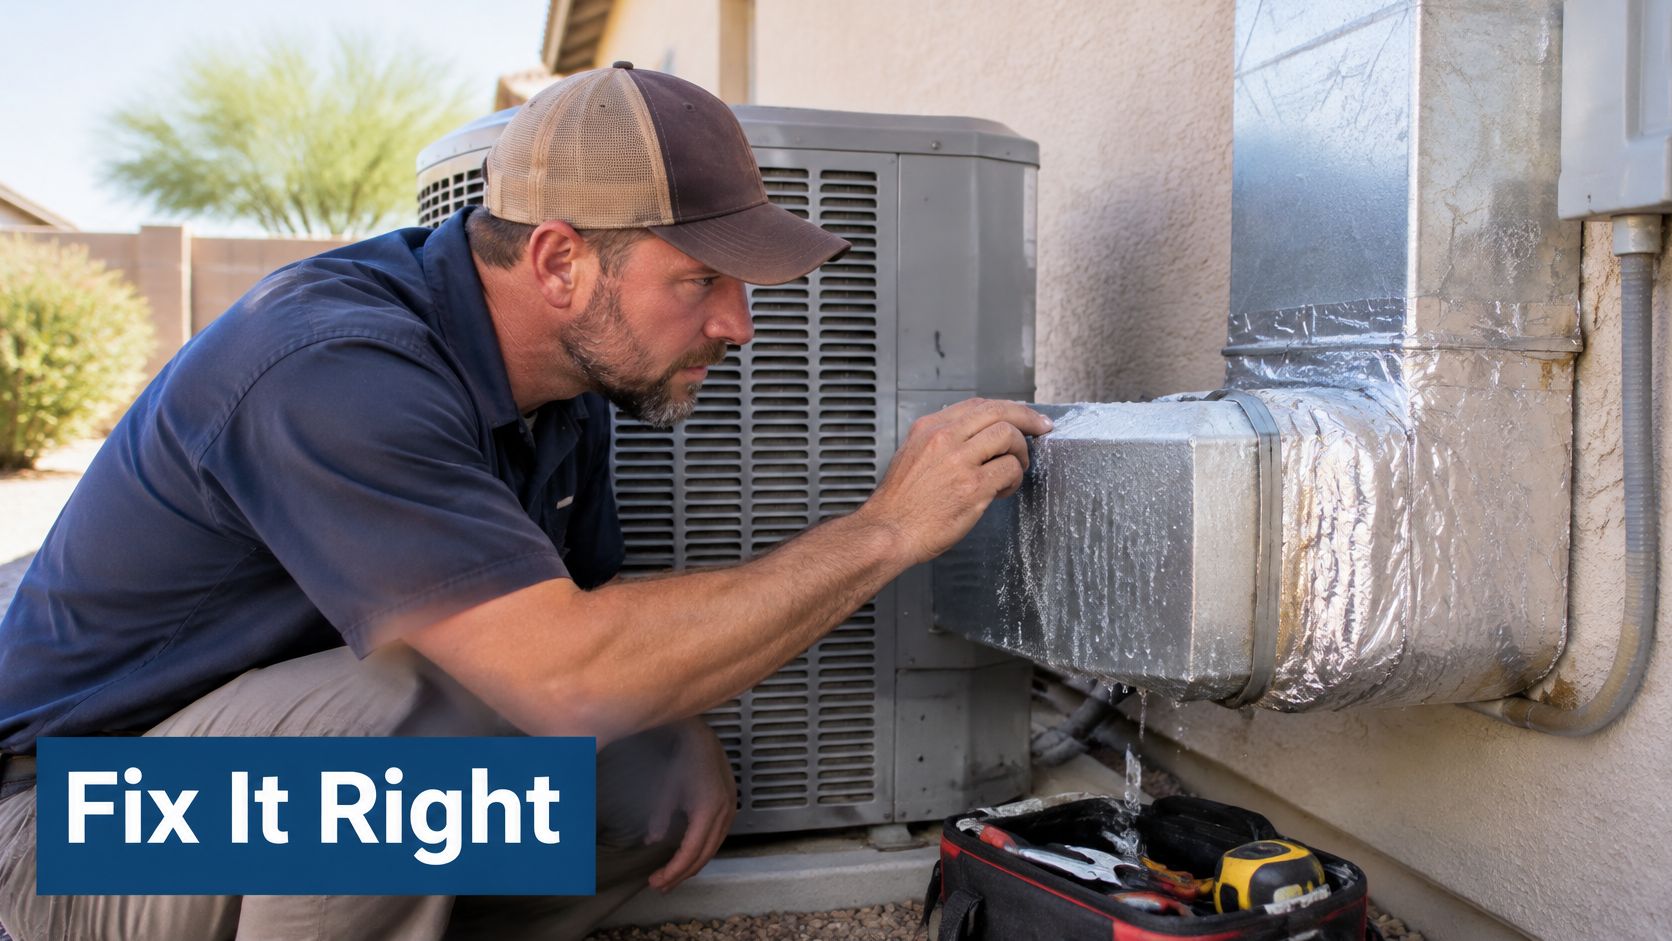
Comfort Experts' duct repair service is the appropriate next step when the investigation points to duct damage, connections, or insulation-related work. Repair-or-replace recommendations weigh system age, the failure, comfort, energy use, parts, ductwork, and how long the owner plans to keep the home. Condensation alone isn't a reason to replace the AC system.
Locate the water: Identify the first wet surface, not just the stain below it.
Verify the cause: Compare local moisture conditions, surface temperature, and assembly condition.
Match the repair: Address the source before covering or replacing affected material.
Comfort Experts offers airflow work, duct sealing, duct repair, filtration, and duct cleaning for Mesa and East Valley properties. For sweating ducts, recurring ceiling stains, or wet duct insulation, schedule service or call 480-207-1239 for an assessment that separates duct condensation from drainage and other moisture problems.